
Configuration of LoRaWAN Servers and Gateways
Release time:
2024-10-14
Configuration of LoRaWAN Servers and Gateways
I. Functional Requirements
How LoRaWAN sensors connect to the network and how LoRaWAN gateways link to the LoRaWAN server are common challenges for beginners. This document provides a detailed guide on installing and configuring the LoRaWAN server (ChirpStack), setting up Hengyi’s LoRaWAN gateway, and configuring Hengyi’s LoRaWAN sensors for network access.
II. LoRaWAN Server Installation and Configuration
2.1 Introduction to the LoRaWAN Server
The application scope of LoRaWAN technology is expanding rapidly, and ChirpStack, a highly acclaimed LoRaWAN server favored by developers, supports multiple operating systems and hardware platforms, enabling rapid deployment and use across diverse scenarios.
ChirpStack is an open-source LoRaWAN server that supports multiple protocol stacks and gateway devices. Its architecture is clear and modular, allowing for flexible configuration and scalability to meet specific needs. When deploying a LoRaWAN server with ChirpStack, it’s important to familiarize yourself with common terms and concepts, such as application interfaces, gateway bridging, and device configuration. By gaining a thorough understanding of ChirpStack’s operating principles and use cases, you can better leverage its strengths to develop high‑quality IoT applications.
2.2 Installing ChirpStack
The installation environment is Ubuntu 22.04 LTS, and the ChirpStack version is V4.9.
Install the dependency package. Enter the Ubuntu shell and switch to the root user as follows:
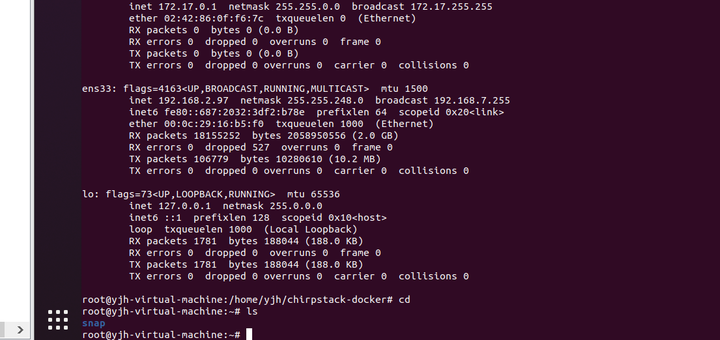
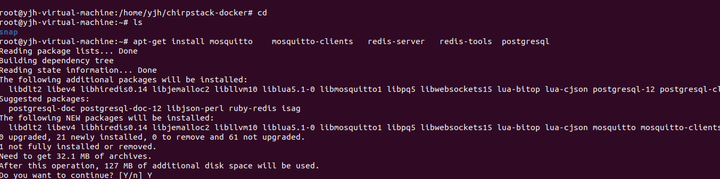
Install the following packages: apt install \ mosquitto \ mosquitto-clients \ redis-server \ redis-tools \ postgresql As shown in the figure below:
Configure the database: sudo -u postgres psql After entering the PostgreSQL database, run the following commands to create the database required by ChirpStack: -- Create a role for authentication CREATE ROLE chirpstack WITH LOGIN PASSWORD 'chirpstack'; -- Create the database CREATE DATABASE chirpstack WITH OWNER chirpstack; -- Switch to the chirpstack database \c chirpstack; -- Install the pg_trgm extension CREATE EXTENSION pg_trgm; -- Exit psql \q
Install the ChirpStack gateway package: sudo apt install chirpstack-gateway-bridge apt install chirpstack
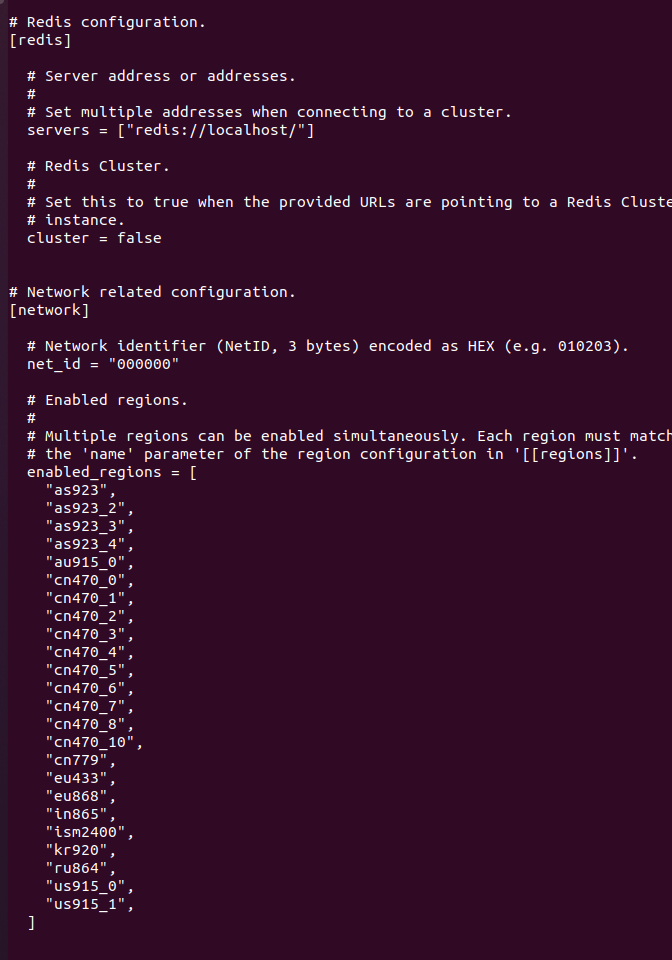
Modify the configuration file: Use an editor to open the following configuration file and add support for 470 MHz LoRaWAN. /etc/chirpstack/chirpstack.toml # Network-related configuration. [network] # Network identifier (NetID, 3 bytes) encoded as HEX (e.g. 010203). net_id = "000000" # Enabled regions. # # Multiple regions can be enabled simultaneously. Each region must match # the 'name' parameter of the region configuration in '[[regions]]'. enabled_regions = [ "as923", "as923_2", "as923_3", "as923_4", "au915_0", "cn470_0", "cn470_1", "cn470_2", "cn470_3", "cn470_4", "cn470_5", "cn470_6", "cn470_7", "cn470_8", "cn470_10", "cn779", "eu433", "eu868", "in865", "ism2400", "kr920", "ru864", "us915_0", "us915_1", ]
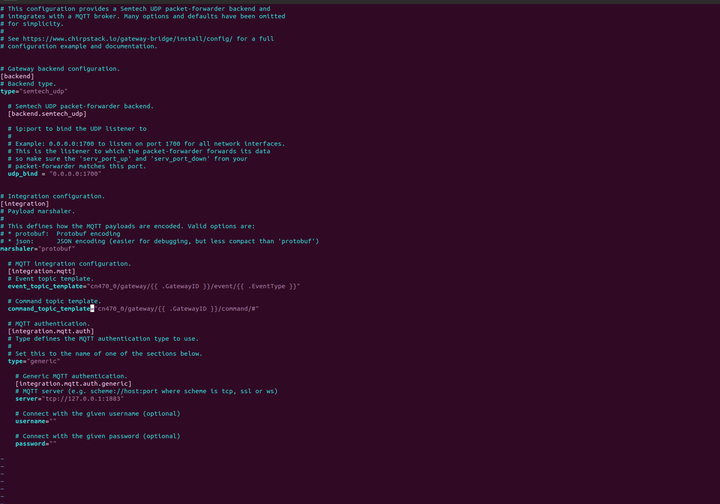
/etc/chirpstack-gateway-bridge/ chirpstack-gateway-bridge.toml # Integration configuration. [integration] # Payload marshaler. # # This defines how the MQTT payloads are encoded. Valid options are: # * protobuf: Protobuf encoding # * json: JSON encoding (easier for debugging, but less compact than 'protobuf') marshaler="protobuf" # MQTT integration configuration. [integration.mqtt] # Event topic template. event_topic_template="cn470_0/gateway/{{ .GatewayID }}/event/{{ .EventType }}" # Command topic template. command_topic_template="cn470_0/gateway/{{ .GatewayID }}/command/#" # MQTT authentication. [integration.mqtt.auth] # Type defines the MQTT authentication type to use. # # Set this to the name of one of the sections below. type="generic" # Generic MQTT authentication. [integration.mqtt.auth.generic] # MQTT server (e.g. scheme://host:port where scheme is tcp, ssl or ws) server="tcp://127.0.0.1:1883" # Connect with the given username (optional) username="" # Connect with the given password (optional) password=""
Start the ChirpStack service: `sudo systemctl start chirpstack`. The following command displays ChirpStack’s output logs: `sudo journalctl -f -n 100 -u chirpstack`. 2.3 Add a gateway.
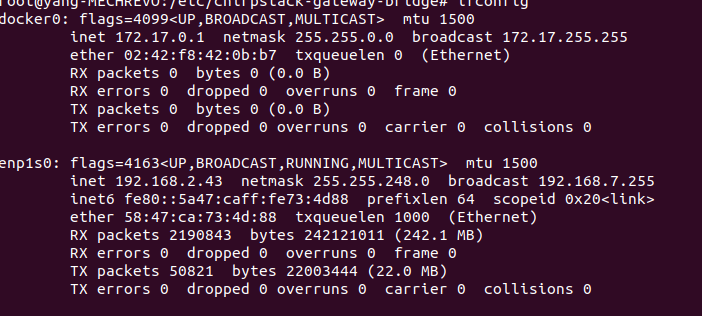
Logging into the server: After the ChirpStack server starts, it listens on port 8080. Find a computer, open your browser, and enter the server’s IP address and port. Taking my current server as an example, its IP address is 192.168.2.43, as shown below:
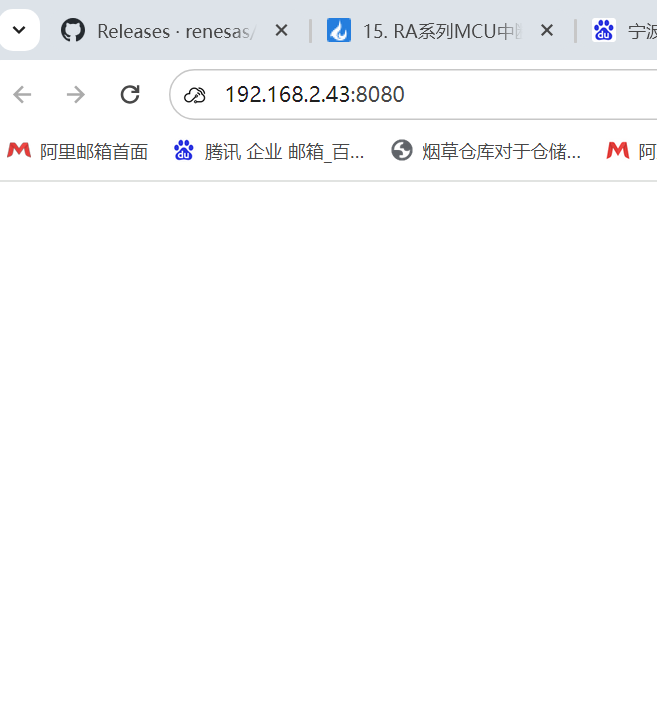
Enter the above IP address in your browser:
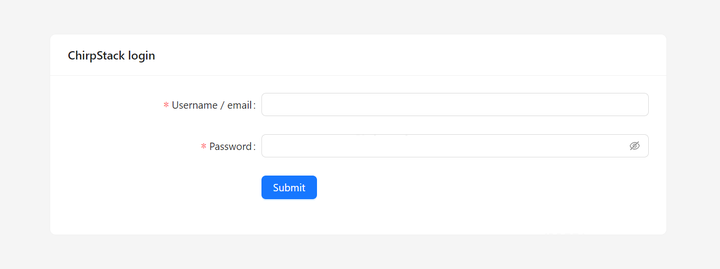
In the pop-up dialog box, enter the username and password; the default username and password are both “admin.”
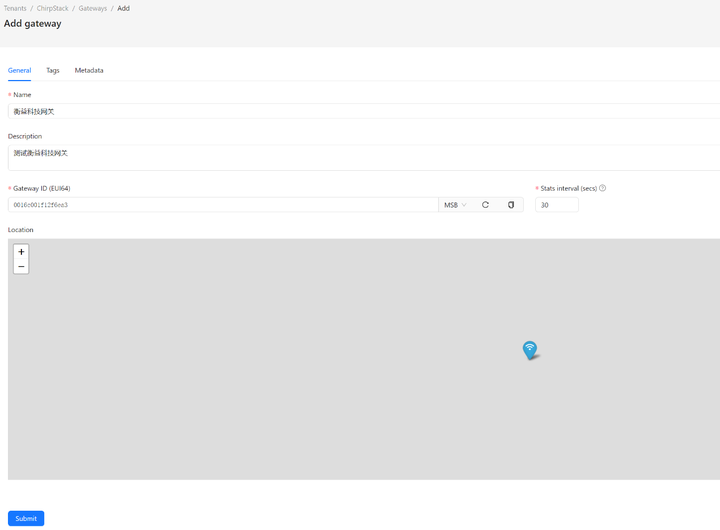
Add Gateway I currently have a gateway with an EUI‑64 ID of: 0016c001f12f6ea3 Now, we need to add this device to the server. First, let’s walk through how to add the device; in the following sections, we’ll cover how to configure the device gateway and sensors.
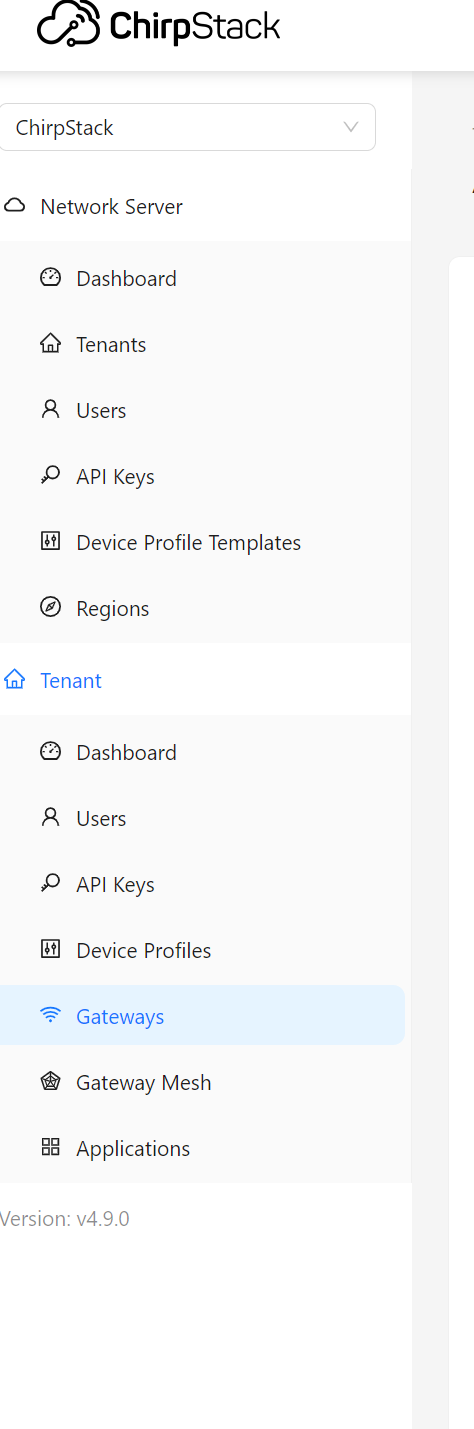
Click GateWays to access the following interface:

Click Add gateway; the following interface will appear. After filling in the required information, click Submit.
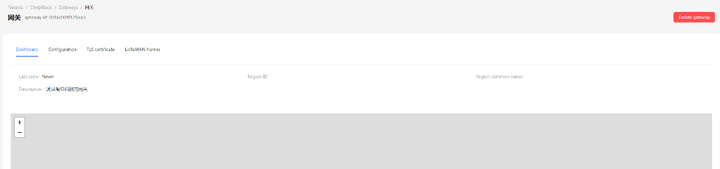
The following interface appears, indicating that the device has been added successfully:
Restart the gateway. If you see the following interface, it means the gateway has successfully logged into the device.
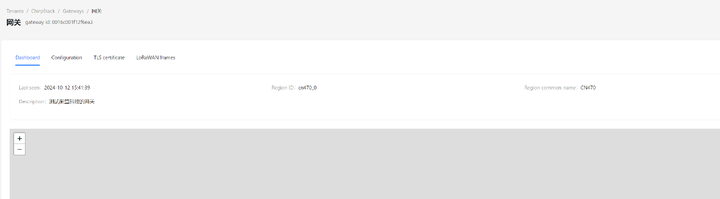
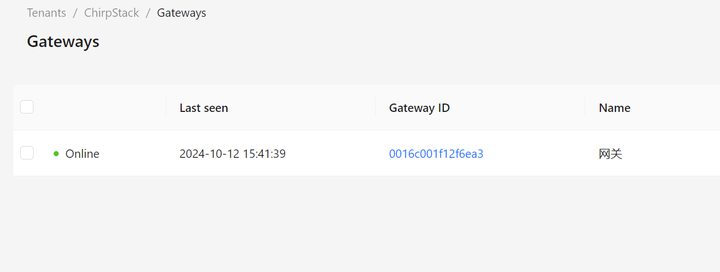
The gateway has been successfully launched. 2.4 Adding a LoRaWAN temperature and humidity sensor: Now add an EUI64 to the server for 0080e1150558bfc1 The LoRaWAN temperature and humidity sensor, with specific operating instructions as follows:
Add Template
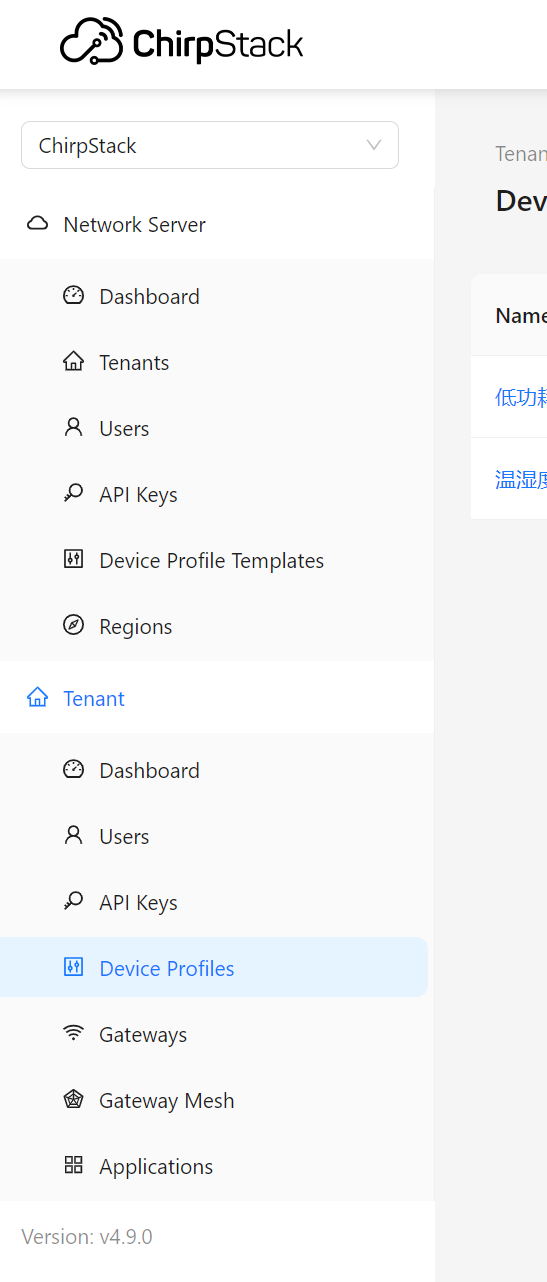
On the interface above, click “Device Profiles” to access the following screen:

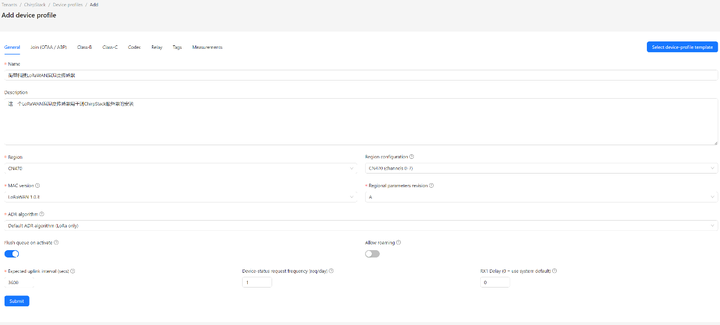
Click Add device profile to go to the following screen, and fill in the fields as shown below.
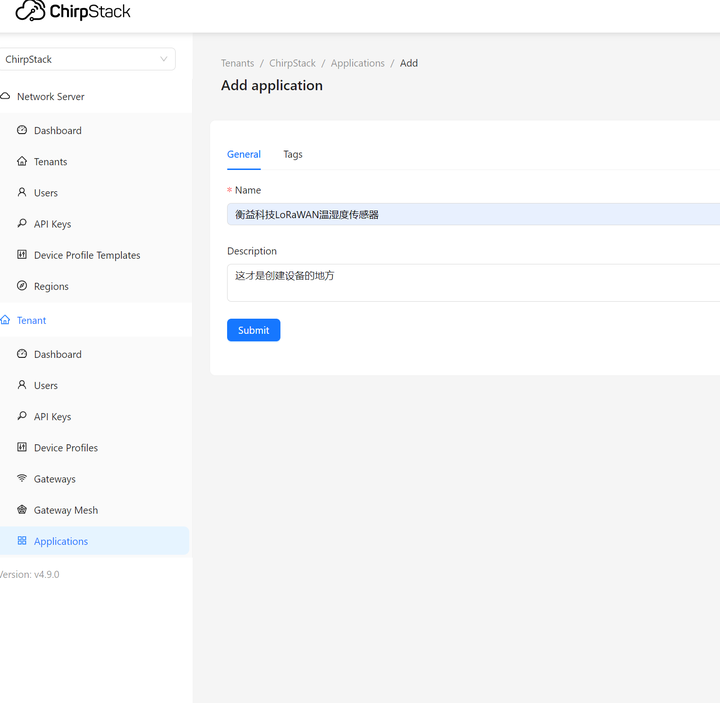
Add Device Add a generic group, fill in the fields below, and click Submit.
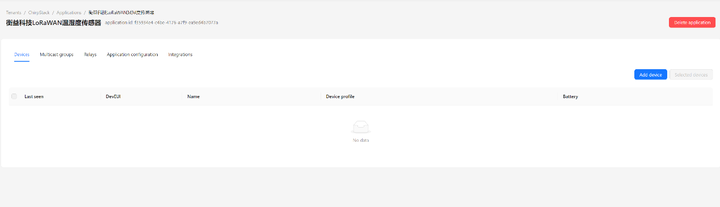
Below is where you add specific devices; click Add devices.
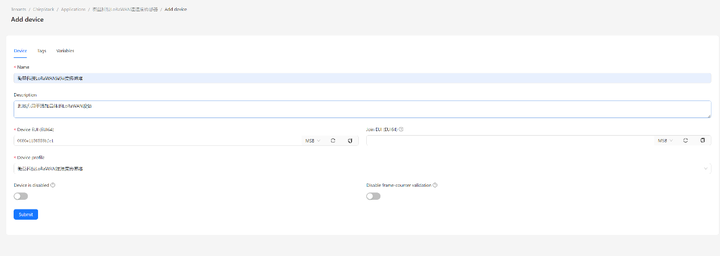
Fill in the device’s relevant ID and description below, then click Submit:
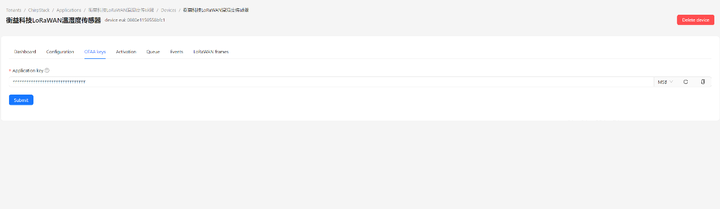
On the following screen, enter 32 f values and click Submit.
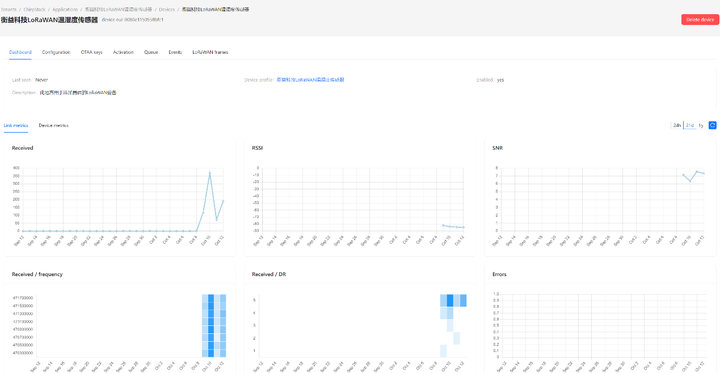
The following interface appears, indicating that the device has been added successfully:
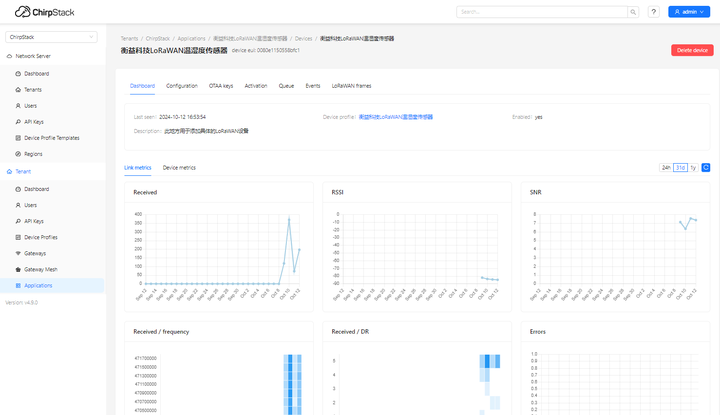
The temperature and humidity sensor was powered off and restarted, the device rejoined the network, and it successfully came online.
III. Configuring the Gateway 3.1 Two Methods for Logging into the Gateway
Connect via the gateway’s LAN port: Plug a computer into the gateway’s LAN port, then enter 192.168.3.1 in your browser to access the login page.
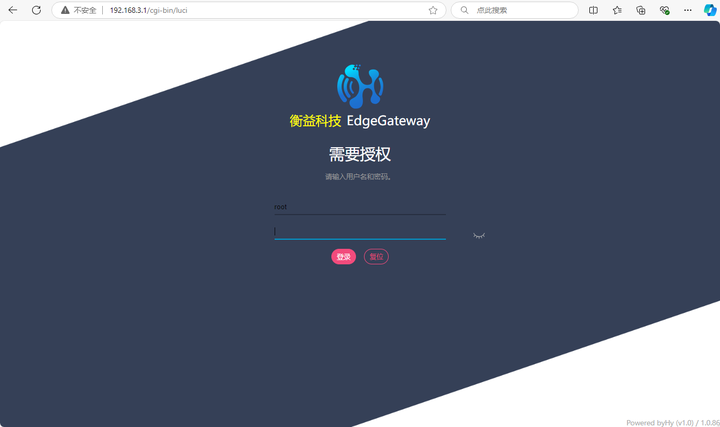
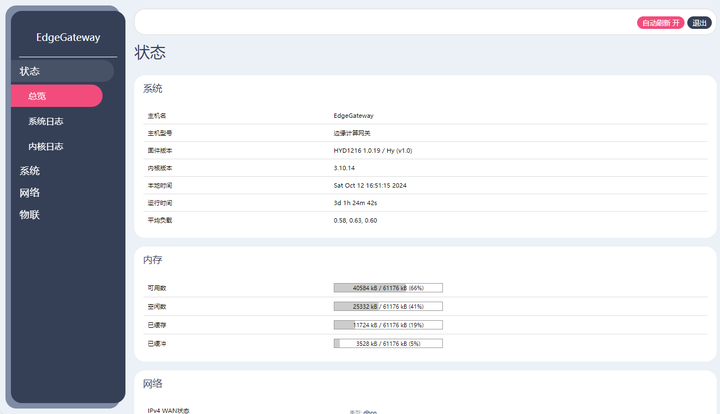
Enter the account (root) and password (123456) to log in to the gateway web page.
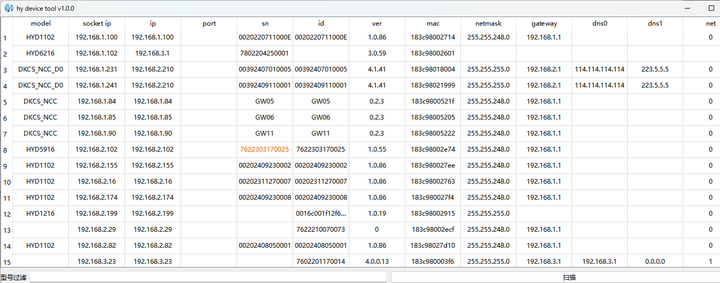
Connect the gateway via the WAN port. When connecting through the WAN port, use the hy device tool software to directly search for the IP address.
Simply enter the gateway IP address into your browser to access the login page.
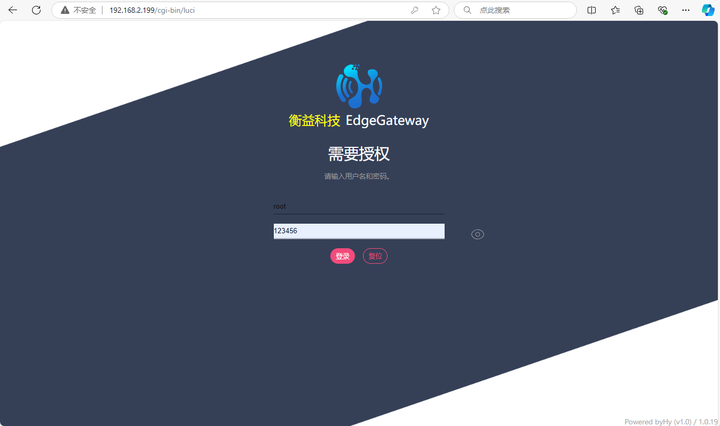
Enter the account (root) and password (123456) to log in to the gateway web page.
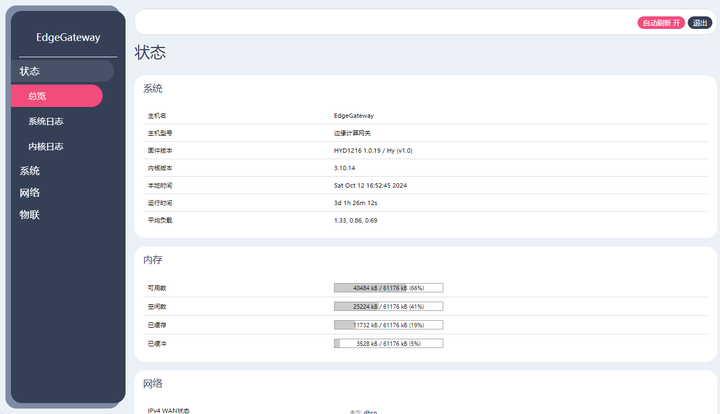
3.2 Configuring LoRaWAN Gateway Parameters
Configure LoRaWAN gateway parameters: On the gateway’s web interface, click “IoT,” then select “LoRaWAN Configuration” to view the gateway’s ID.
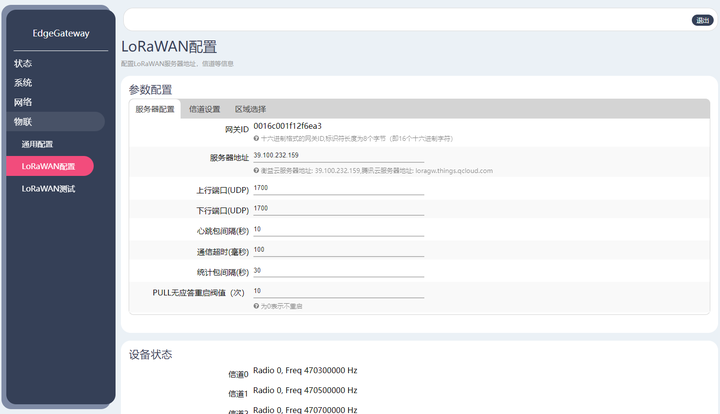
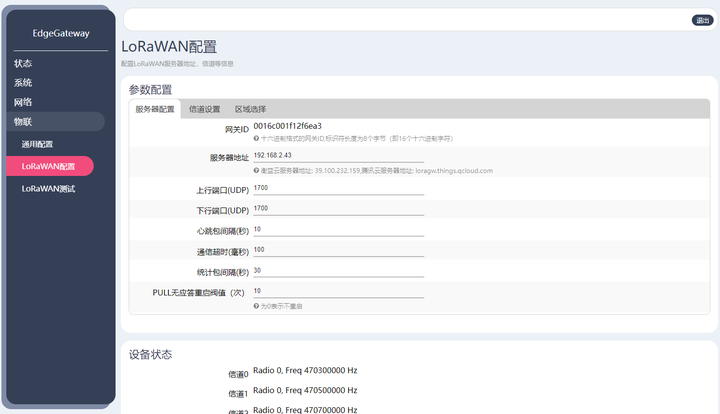
Modify the server address and enter the ChirpStack address.
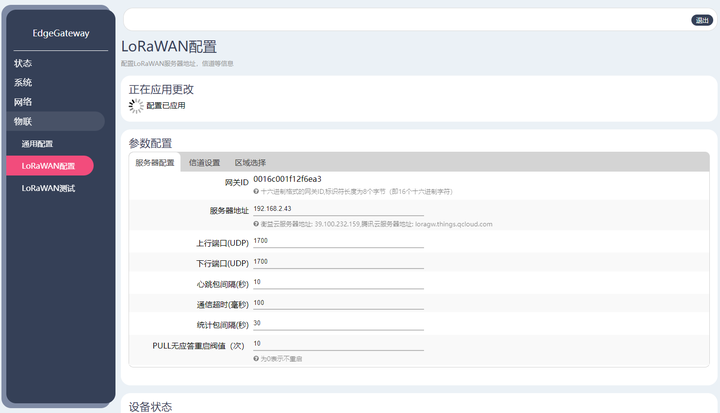
Click the Save & Apply button.
3.3 LoRaWAN Gateway Channel Configuration: Channel configuration supports the CN470–80–87 frequency band.
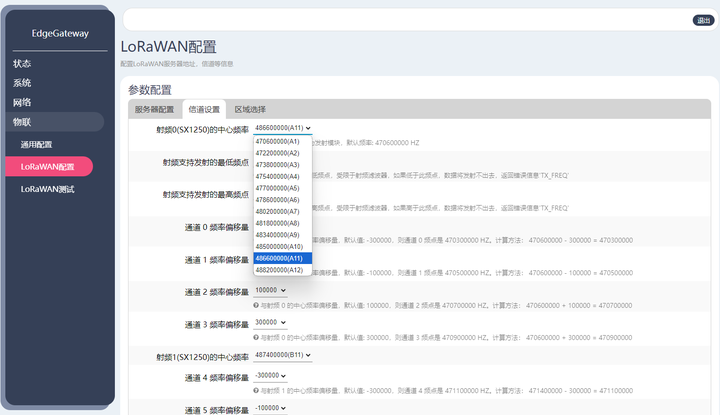
Modify the LoRaWAN gateway channel
On the RF interface, set the center frequency of RF0 (SX1250) to A11 and the center frequency of RF1 (SX1250) to B11.
Click the Save & Apply button in the bottom-right corner.
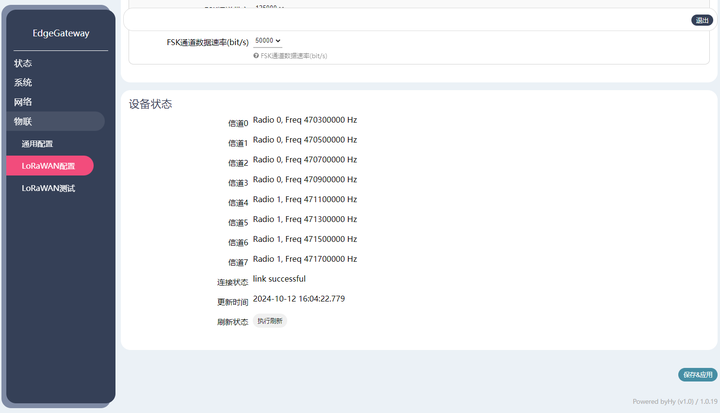
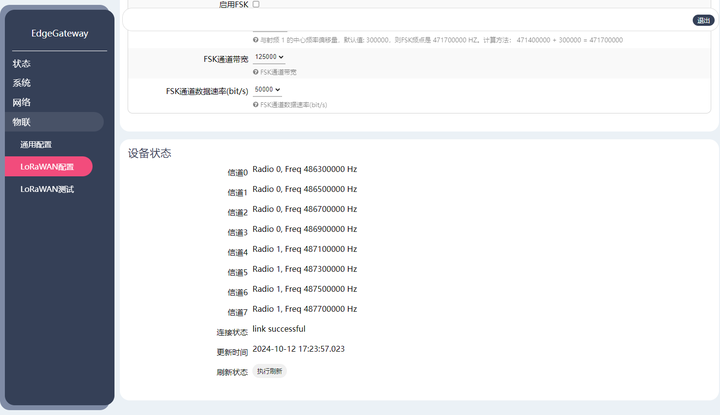
On the device status screen, click the Refresh button to change the channel frequency.
4. LoRaWAN Sensor Network Configuration
V. Frequently Asked Questions
1. After configuring it multiple times, it suddenly can no longer connect to the platform.
This gateway has a relatively complex functionality, with multiple configurations interdependent; under these circumstances, it’s best to restore the factory default settings.
MORE NEWS
Contact Us
Tel:+86-189-23711266 400-1273-421
E-mail:liulin@rf-md.com
Shenzhen office: 506-509, zone 1, block B, Huayuan science and Technology Innovation Park, No. 168, Baoyuan Road, Xixiang, Bao'an District, Shenzhen
Changsha Branch: 21d, building F4, Lugu enterprise Plaza, No. 27, Wenxuan Road, Yuelu District, Changsha

Follow us
-

E-mail:
yangyalan@rf-md.com
-

Tel:
+86-755-23284193
-
